Navigation list
News center
- Complete list of maintenance fau
- Wanhao projector operation video
- Wanhao image measuring instrumen
- Operation Manual of Wanhao Image
- Wanhao projector instructions
- Official telephone number of Wan
- Official website of Wanhao Proje
- The processing method of jump nu
- Application of Wanhao image meas
- Domestic exhibitions in 2022 (as
- Explore the current situation of
- A brief analysis of the structur
- What is the function of the tool
- Precautions for use of measuring
- Usage of measuring projector
- Wanhao imager vms-3020g
Contact us
- Add: Jiangsu province Wuxi City New WU District
- Tel: 0510-81819749
- Fax: 0510-81819749-9
- Email: gc1718@163.com
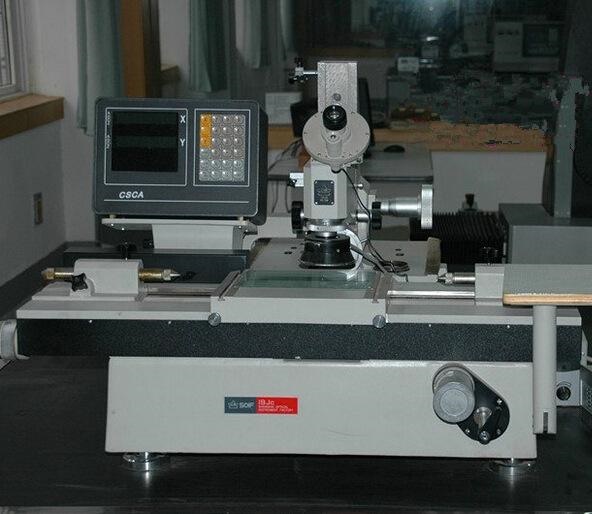
Verification of digital display system of tool microscope

Verification of digital display system
According to the relevant provisions in the verification regulation of universal industrial display, it is necessary to verify the indication difference of the reading device, the return stroke difference and indication difference of the reading device.
(1) Verification of indication difference of reading device
For the digital display system, the indication difference of the reading device is the * small resolution of the digital display meter, that is ± 0.5 μ m. No verification is required.
(2) Verification of indication difference of reading device (equivalent to the repeatability of magnetic grid ruler)
The grating ruler reading device has no return difference in terms of its structure and principle, which of course requires a high level of technology. By using 0.1 μ M inductance micrometer is tested repeatedly, and the return difference of the grating ruler reading device is not more than 0.5 μ m 。
(3) Verification of indication difference (equivalent to the accuracy of magnetic grid ruler)
The difference of verification limit shall not be greater than 0.5 μ The glass scale of M is used as the standard to verify the longitudinal and transverse directions respectively according to the conditions and methods specified in the regulations; If there is no glass scale, the original scale of the universal industrial display can be compared with the grating scale, and the original indication difference of the instrument can be corrected to determine the actual difference of each inspected point of the grating scale. If there is an out of tolerance, it can be compensated by the linear compensation system.


